Cat Ear Cleaning: How to Clean Cat Ears and Remove Black Wax Safely
Introduction:
Cat Ear Cleaning is a topic that many cat owners eventually face when they notice a buildup of wax, dirt, or dark material inside their feline companion’s ears. Seeing foreign debris or a change in appearance can trigger immediate concern, leading many pet parents to wonder whether they should rush into action. However, not every cat needs frequent ear cleaning, and leaping in with cotton swabs or random household liquids can actually cause more harm than good. Understanding feline ear anatomy, recognizing normal versus abnormal debris, and knowing the proper techniques are essential components of responsible pet care. This comprehensive guide will cover everything you need to know about whether cats require ear cleaning, how to inspect their ears, the safest products and tools to use, how to interpret black ear wax, and when it is time to schedule a professional veterinary visit.
Is Ear Cleaning Necessary for Cats?
Do healthy cats need regular ear cleaning?
When addressing the question of whether ear cleaning is necessary for cats, the short answer is that healthy ears generally feature a self-cleaning mechanism. In most cases, a healthy feline ear canal pushes debris and old wax outward naturally through head movement, jaw motion, and natural cellular migration. Therefore, veterinarians do not recommend establishing a rigid, fixed cleaning schedule for every cat. Forcing a cleaning routine on a cat with clean, healthy ears can disrupt the delicate natural balance of the ear canal, potentially stripping away protective oils and inviting irritation or secondary infections.
However, individual circumstances vary significantly. Some cats produce more wax due to their genetics, age, lifestyle, or underlying anatomical traits, meaning they may require occasional supportive cleaning. The key is to evaluate each cat as an individual rather than applying a blanket rule.
How can you tell if your cat’s ears need cleaning?
Rather than cleaning on a schedule, pet owners should monitor their cat’s ears for visible or behavioral warning signs. Key indicators that an inspection—and potentially a cleaning—may be warranted include:
- Excessive wax accumulation visible in the outer ear canal
- Dirt, grime, or dark particulate debris
- An unpleasant, yeasty, or foul odor emanating from the ear
- Redness or inflammation of the ear flap and visible canal
- Abnormal discharge (such as yellow, green, or thick brown fluid)
- Frequent scratching, pawing, or rubbing at the ears
- Persistent head shaking or tilting
- Signs of pain, sensitivity, or aggression when the head or ears are touched
As a practical takeaway, clean-looking, comfortable ears should generally be left alone. Conversely, dirty, irritated, painful, or abnormal ears require investigation into the underlying cause before you simply attempt to clean them away.
What Causes Cats’ Ears to Be Dirty?
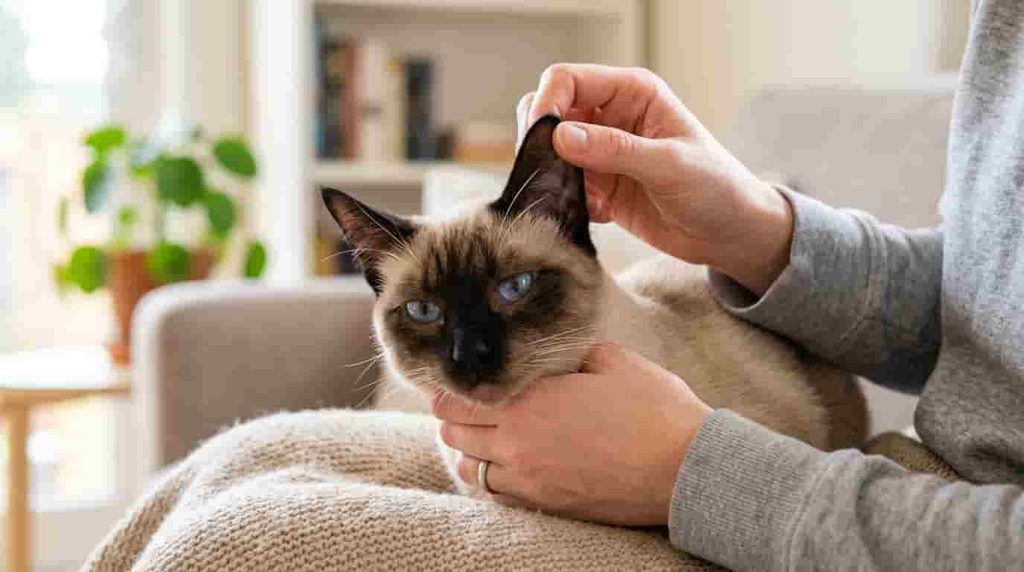
Normal earwax and debris
Understanding what causes cats’ ears to be dirty starts with distinguishing ordinary secretions from pathological changes. A small amount of pale yellow to light brown wax is entirely normal. This substance protects the delicate lining of the ear canal by trapping dust, foreign particles, and dead skin cells. As long as the ears are clean-smelling, pink, and comfortable, this normal wax requires no intervention.
Common reasons for excessive debris
When debris accumulates rapidly or takes on an abnormal appearance, several common factors may be at play:
- Ear mites: Tiny parasites that thrive in the ear canal, producing characteristic dark, crumbly material.
- Yeast or bacterial infections: Microorganisms that proliferate when moisture or inflammation alters the ear environment.
- Allergies: Food sensitivities or environmental allergies (atopic dermatitis) that trigger localized inflammation and excess glandular secretions.
- Foreign material: Plant awns, dirt, or debris trapped after outdoor exploration.
- Excessive wax production: Breed-specific traits or hyperactive sebaceous glands.
It is vital to remember an important safety point: cleaning removes visible surface debris, but it does not treat the underlying medical cause. Persistent or unusual debris always deserves a professional veterinary evaluation to ensure the root issue is properly managed.
What Does Black Stuff in a Cat’s Ears Mean?
Is black ear wax always a problem?
One of the most frequent questions pet owners ask is: How to get rid of black stuff in cat’s ears? To answer this effectively, one must first determine whether dark material is always indicative of pathology. While normal earwax can sometimes oxidize and darken when exposed to air over time, heavy, dark, or pitch-black buildup is rarely just normal wax.
Black debris and ear mites
When owners spot thick, dark material, ear mites are often the primary suspect. These highly contagious microscopic parasites feed on epidermal debris and earwax, producing a discharge that frequently resembles coffee grounds. Associated signs of an ear mite infestation include:
- Intense, relentless scratching at the ears and base of the neck
- Frequent head shaking
- Dark, crumbly, or tar-like debris packed in the folds of the ear
- Scratches, self-inflicted trauma, and skin irritation around the outer ear and face
Why you should not simply scrub the black material away
When faced with unsightly black buildup, the temptation to aggressively clean or dig out the material is high. However, simply scrubbing away the black substance does not solve the underlying infestation or infection. Furthermore, vigorous scrubbing of inflamed, mite-infested skin can cause micro-abrasions, severe pain, and secondary bacterial infections. A veterinarian must examine the debris under a microscope to confirm the presence of mites, yeast, or bacteria, prescribing targeted antiparasitic or antimicrobial medications rather than relying on routine cleaning alone.
How to Clean Cat Ears at Home Safely
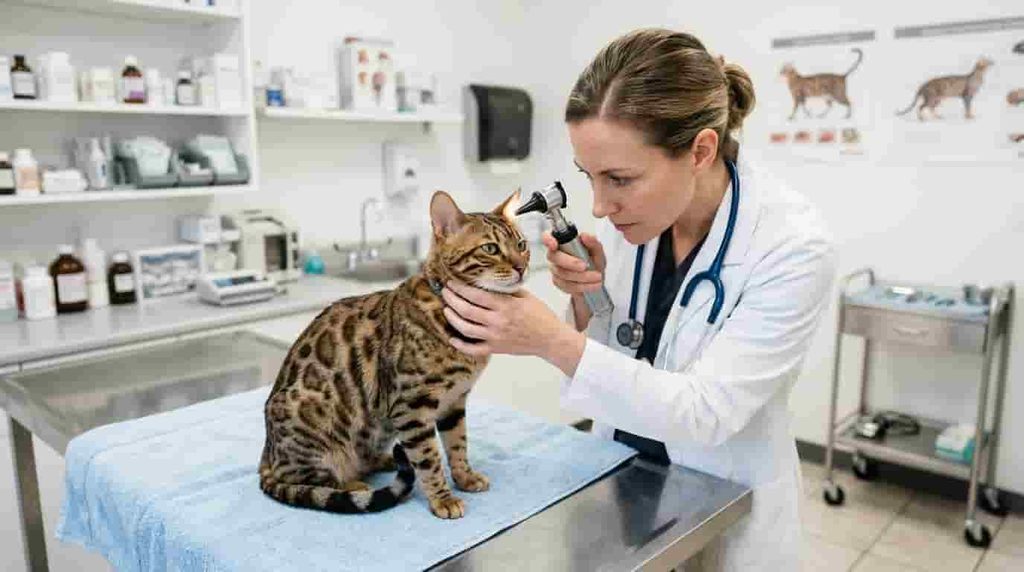
Executing a safe, low-stress cleaning session requires the right preparation, tools, and step-by-step execution.
What you need before you start
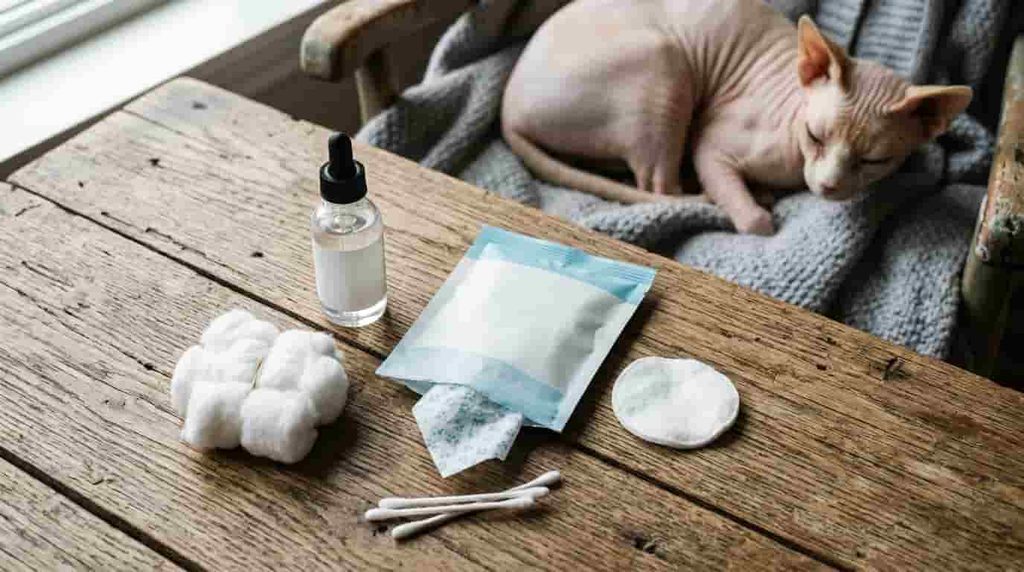
Gather your supplies ahead of time to keep the process efficient and calm:
- A veterinary-approved, cat-safe ear-cleaning solution
- Soft cotton balls or gauze pads (avoid fibrous materials that leave loose threads)
- A towel to wrap your cat or protect your lap if needed
- High-value treats or rewards to build positive association
- A quiet, well-lit, comfortable location free from distractions
Never use hydrogen peroxide, rubbing alcohol, vinegar solutions, or human ear medications, as these can severely burn or damage the delicate epithelial lining of the cat’s ear canal.
Step-by-step cat ear cleaning
- Choose a calm time: Avoid initiating ear care when your cat is hyperactive, frightened, or recovering from a stressful event.
- Inspect the ears first: Carefully look inside the pinna and outer canal. Check for extreme redness, severe swelling, foul odors, active bleeding, open wounds, or obvious pain before proceeding.
- Position your cat gently: Place your cat comfortably on your lap or a stable surface. Keep restraint minimal and gentle. If your cat tends to squirm or scratch, enlist a second person to gently hold them.
- Apply the veterinarian-recommended ear cleaner: Hold the ear flap upright and gently fill the ear canal with the prescribed liquid solution according to product directions, taking care not to jam the bottle tip into the canal.
- Massage the base of the ear: Gently massage the base of the ear for 20 to 30 seconds. You should hear a soft squishing sound, which indicates that the solution is successfully loosening debris deep within the vertical canal.
- Allow the cat to shake: Step back and let your cat shake their head. This natural reflex forces loosened wax and debris up from the horizontal canal into the outer ear flap, making it much easier to wipe away.
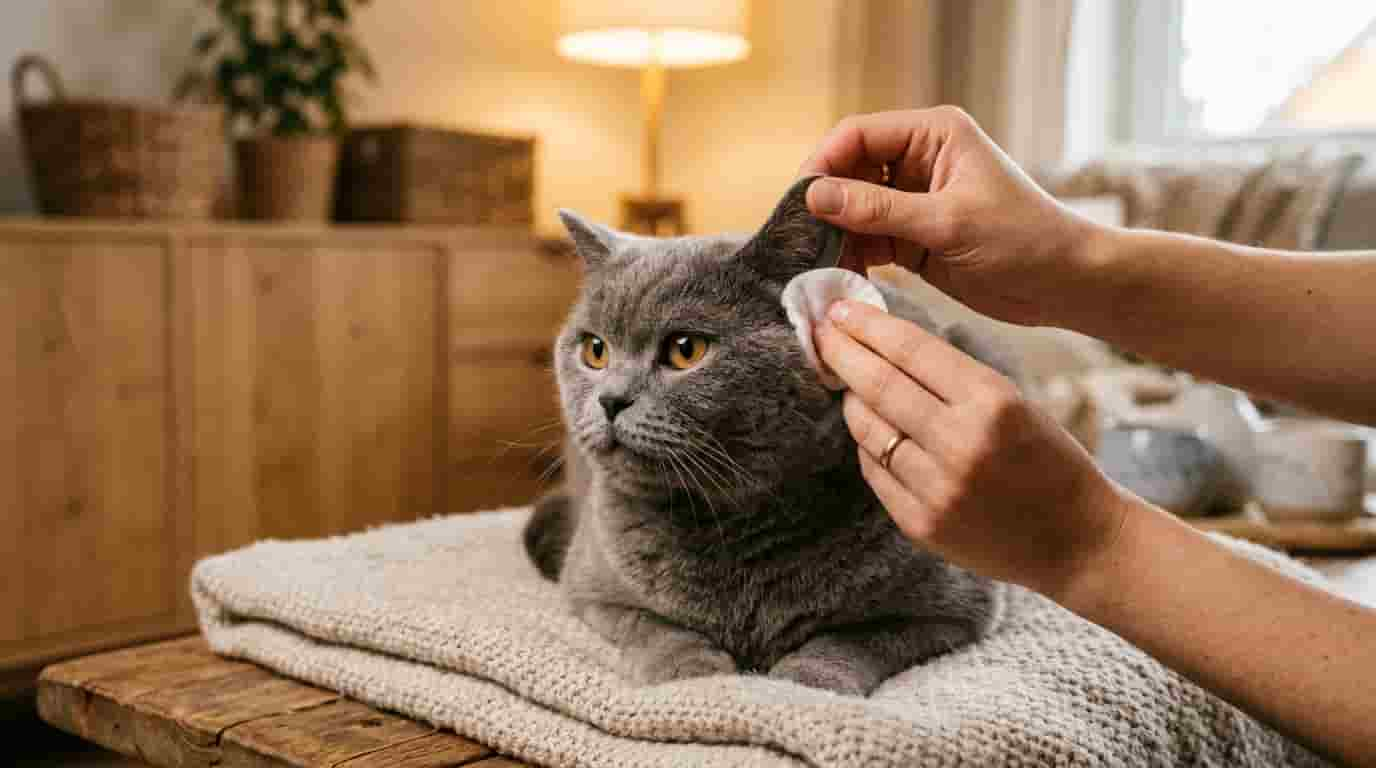
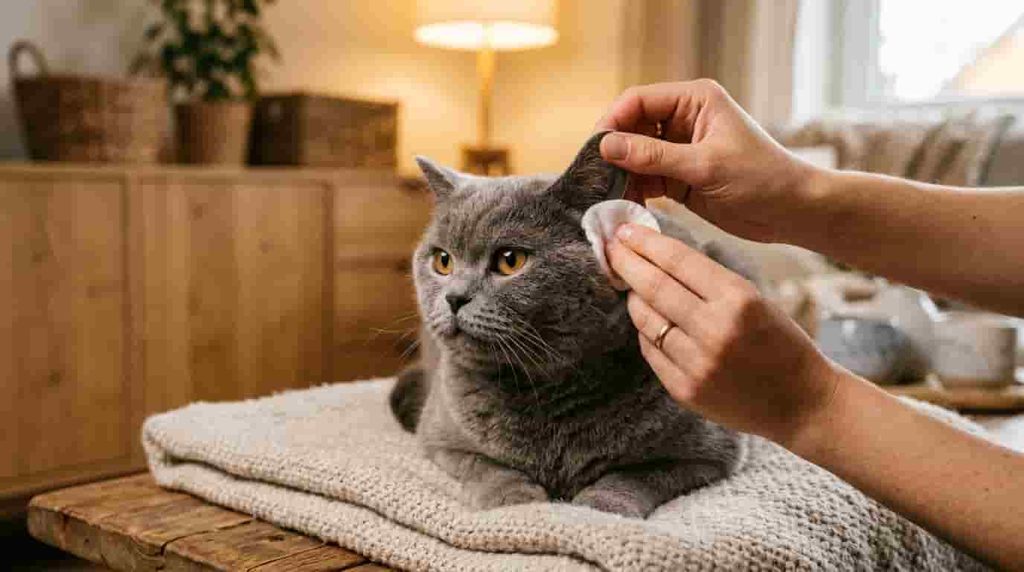
- Wipe away loosened debris: Use a clean cotton ball or gauze pad dampened with a little ear cleaner to gently wipe out the dissolved wax and debris from the visible outer ear folds and canal entrance. Never push material deeper.
- Reward your cat: Immediately offer praise, affection, and a favorite treat to ensure the experience ends on a positive note.
Safety Box: Never insert cotton swabs, human fingers, or any rigid objects deeply into the cat’s ear canal. Doing so risks packing wax tightly against the eardrum or causing permanent rupture of the tympanic membrane.
Safe Solutions, Wipes, Drops and Tools
Selecting appropriate cat ear cleaning products is critical for protecting your pet’s auditory health.
Ear-cleaning solutions
A high-quality cat ear cleaning solution is formulated to break down lipids, dissolve waxy buildup, dry the canal, and match the physiological pH of feline skin. These liquid formulas are designed to be safely introduced into the canal during routine maintenance or pre-treatment protocols.
Ear wipes
Ear wipes are pre-moistened pads useful for maintaining hygiene on the visible outer ear flap (the pinna) and removing light surface dust or oils. However, wipes are not suitable for deep canal cleaning because they cannot reach down into the vertical canal where wax accumulates.
Ear drops and medications
It is essential to distinguish routine cleaning solutions from therapeutic ear drops. Medicated drops contain antibiotics, antifungals, or antiparasitics and must only be administered under explicit veterinary instruction following a physical exam. Using medicated drops in an unexamined ear can mask symptoms or worsen specific conditions.
Avoiding homemade mixtures
While DIY recipes involving vinegar, water, or isopropyl alcohol circulate online, veterinarians strongly advise against them. Incorrect pH levels, residual moisture, or chemical irritation can provoke severe otitis externa (ear canal inflammation).
Ear Mites, Yeast and Other Ear Problems
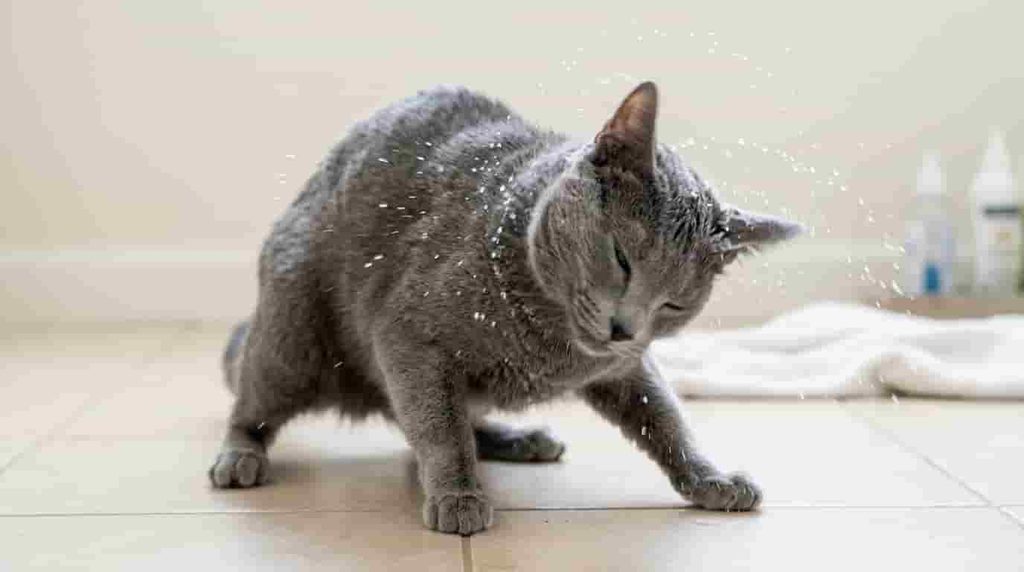
Why cleaning alone may not solve the problem
When owners ask how to clean cat ears with ear mites or what kills yeast in cats’ ears, it is crucial to understand that cleaning is merely an adjunct therapy, not a cure. Ear mites and fungal organisms like Malassezia multiply rapidly and cause profound tissue irritation. Removing surface debris clears the path for medications to work, but it does not eradicate the underlying pathogen.
Signs that suggest a medical problem
Watch closely for clinical signs that transcend normal dirt accumulation:
- Intense, unremitting scratching and pawing at the ears
- Persistent, violent head shaking that can lead to aural hematomas (blood blisters in the ear flap)
- Strong, offensive odors
- Marked redness, heat, and swelling
- Copious dark brown, black, yellow, or bloody discharge
- Visible pain when the head or ears are touched
Why veterinary diagnosis matters
Many feline ear conditions share identical outward symptoms despite having entirely different root causes. A veterinarian utilizes an otoscope to examine the tympanic membrane and performs cytological smears to identify whether bacteria, yeast, or mites are responsible. Professional diagnosis ensures your cat receives the exact pharmaceutical intervention required for a full recovery without risking drug resistance or toxicity.
How Often Should You Clean a Cat’s Ears?

There is no universal cleaning schedule
One of the most common misconceptions in pet care is that every cat requires a weekly or monthly ear cleaning. In reality, healthy feline ears require very little interference. If a cat’s ears are naturally clean, pale pink, and odor-free, routine cleaning is entirely unnecessary and can cause unnecessary irritation. Conversely, cats prone to excessive wax production, allergies, or recurrent infections may require a customized cleaning schedule established in partnership with a veterinarian.
Let the ears guide you
Rather than adhering to an arbitrary calendar, inspect your cat’s ears regularly and let their condition dictate your actions:
- Usually reassuring: Clean pink skin, minimal or no visible wax, no odor, and complete comfort.
- Needs attention: Increasing wax accumulation, dark debris, unusual odors, scratching, head shaking, or sensitivity.
How to Make Cleaning Less Stressful
For many cats, ear handling can induce anxiety. Implementing low-stress handling techniques transforms the experience into a manageable routine:
- Choose the right moment: Pick a time when your cat is relaxed, sleepy, or post-meal.
- Introduce handling gradually: Spend a few days simply touching and petting around the ears, rewarding calm acceptance before introducing any cleaning solutions.
- Keep sessions short: Avoid prolonged struggles. If your cat becomes tense, pause and try again later.
- Use positive reinforcement: Generously reward cooperation with high-value treats and praise.
- Know when to stop: If a cat becomes aggressive, panicked, or shows severe pain, halt the procedure immediately and seek professional assistance.
Common Cat Ear Mistakes to Avoid

Avoiding common pitfalls ensures that your grooming efforts remain safe and effective:
- Cleaning healthy ears too aggressively: Over-cleaning strips natural protective oils and promotes inflammation.
- Using human ear products: Human medications or hygiene solutions have incorrect pH balances and can harm cats.
- Pushing cotton swabs deep into the ear: This risks compacting debris or puncturing the eardrum.
- Scraping away stubborn debris: Forcing dry, caked material can tear delicate skin.
- Using homemade solutions without veterinary guidance: Unverified DIY mixes can cause chemical burns or severe irritation.
- Treating black debris without finding the cause: Failing to diagnose mites or infections leads to prolonged suffering.
- Continuing despite pain: Forcing a painful cat breaks trust and escalates injury risks.
When Should a Veterinarian Check Your Cat’s Ears?
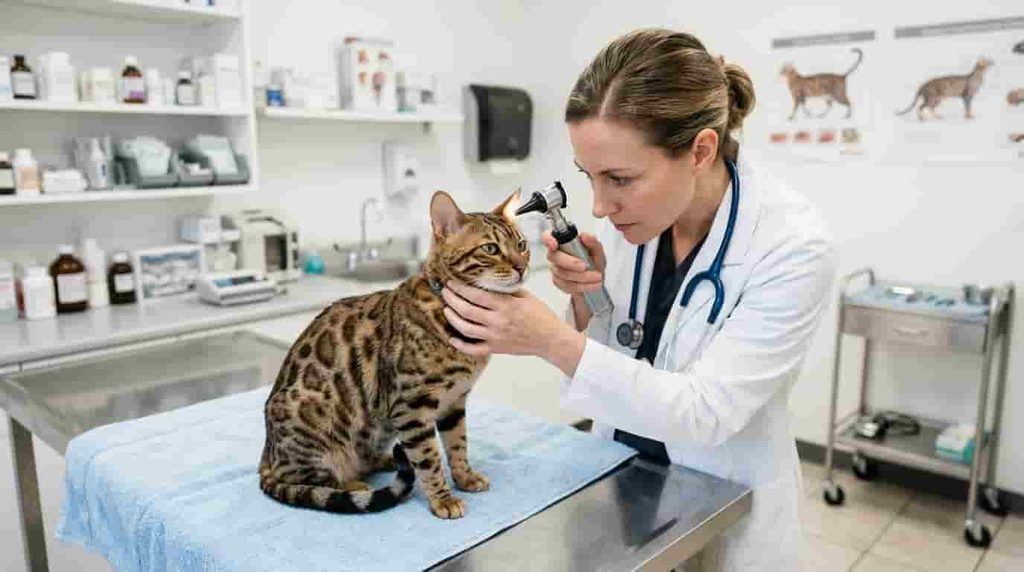
Seek veterinary help if your cat has:
Professional veterinary care is mandatory when signs move beyond simple hygiene maintenance. Schedule an exam if you observe:
- Persistent or intense scratching and pawing
- Repeated head shaking or tilting
- Acute ear pain or aggression upon touch
- Severe redness, swelling, or heat
- Foul, yeasty, or putrid odors
- Thick, discolored, or bloody discharge
- Heavy, recurring dark debris
- Bleeding, scabs, or open wounds on the pinna
- Loss of balance, stumbling, or neurological signs
Why professional examination matters
Veterinarians possess specialized diagnostic tools, such as otoscopes and cytology stains, to accurately inspect the deep ear canal and identify specific pathogens. Attempting to treat severe infections with over-the-counter cleaners alone allows underlying diseases to progress, potentially resulting in chronic middle or inner ear disease.
Other Grooming and Internal Links
Ear care exists within a broader spectrum of feline maintenance. While ear hygiene is vital, it should be integrated smoothly into an overall wellness regimen. For instance, maintaining your cat’s physical appearance involves managing coat condition, which you can read about in Cat Shedding: How to Reduce Excessive Cat Hair and Shedding at Home. Additionally, comprehensive grooming requires keeping claws neatly managed, a topic covered extensively in Cat Nail Trimming: How to Safely Cut Your Cat’s Nails at Home. If you share your home with long-haired breeds that require specialized attention to prevent matting around the head and neck, consult our detailed guide on Long Hair Cats: Breeds, Grooming, Care, Problems and What to Know. Finally, when full-body hygiene is necessary, learning proper techniques is essential, as outlined in Cat Bathing: How to Bathe A Cat Safely Without Stress or Scratches.
Simple Cat Ear Care Routine
- Look: Visually check your cat’s outer ears during regular petting sessions.
- Notice: Watch for wax changes, odors, redness, or discomfort.
- Clean only when appropriate: Apply a vet-approved cat ear cleaning solution solely when excess buildup is present.
- Never dig: Keep cotton swabs and foreign objects entirely out of the ear canal.
- Monitor: Keep track of how quickly debris accumulates and note any behavioral changes.
- Get help when needed: Promptly contact your veterinarian if abnormal signs persist.
FAQs
FAQ 1: How often should I clean my cat’s ears?
There is no universal cleaning schedule for cats. Cleaning frequency depends entirely on the individual cat’s health, wax production, and specific veterinary recommendations.
FAQ 2: Can I use water to clean my cat’s ears?
Owners should avoid assuming plain water is an effective or safe cleaning agent. Water can become trapped in the horizontal canal, creating a breeding ground for bacteria and yeast; always use an appropriate cat ear-care product when cleaning is indicated.
FAQ 3: Why does my cat keep getting black wax in its ears?
Recurring dark debris typically points to underlying issues such as ear mites, yeast overgrowth, or bacterial infections. These conditions require a professional veterinary evaluation and targeted treatment rather than routine cleaning.
FAQ 4: Can I use human ear-cleaning products on my cat?
Human ear drops and peroxide solutions are formulated for human skin pH and anatomy, making them unsafe for cats. Cat-specific products and veterinary guidance provide a much safer choice.
FAQ 5: What should I do if my cat will not let me clean its ears?
If your cat becomes highly stressed, aggressive, or shows signs of pain, stop the procedure immediately rather than forcing it. Forcing an unwilling cat can cause injury, so consult a veterinarian for professional assistance.
Conclusion — Safe Cat Ear Cleaning Starts With Knowing When to Clean
Cat Ear Cleaning requires a gentle, purposeful, and informed approach. Remember that not every cat needs frequent cleaning, and healthy ears are best left undisturbed. Always inspect the ears before acting, utilize appropriate cat-safe products, and never insert rigid objects deep into the ear canal. Black debris, foul odors, pain, redness, abnormal discharge, or persistent scratching serve as important warning signs indicating an underlying medical problem that warrants professional veterinary care. Ultimately, the goal is not achieving perfectly spotless ears, but rather maintaining healthy, comfortable ears and ensuring safe, stress-free grooming.
Does your cat tolerate ear cleaning, or what specific approach has worked best for your feline companion? Share your experiences below!